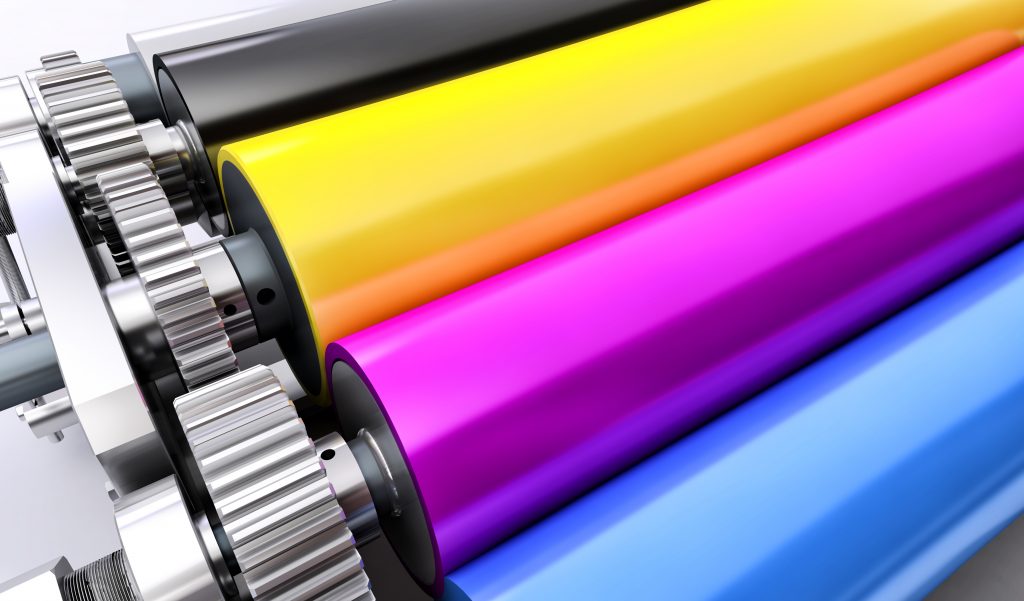
Get Your Printed Pieces Back Without Errors
You’ve spent all day – sometimes days or even weeks working on your project and when it comes back from the printer it doesn’t look like you expected it to. Sound familiar? It happens more often than you might think. In this blog post about preparing your files for successful printing we’ll cover are some easy steps you can take relating to CMYK, bleed and fonts for example ( see below ) to prevent printing problems from happening. Let us take you through some troubleshooting basics to ensure your next printing project turns out as great as you expected.
Color is Everything – CMYK
Let’s start off with color. We will use one of two processes to print your project – Full Color or Spot Color. Full Color presses use the CMYK process to create the final printed project while Spot Color uses just one ink color, the latter is mostly used when printing black ink on an envelope or something similar. More than likely your print job will need to be saved on your computer in the CMYK format. RGB color format is for use on a monitor only and the color will vary quite a bit if you save your art in RGB instead of CMYK mode, almost guaranteeing you will see a different color between what you made on your computer and the final printed piece. No matter what program you use to create your project, you should be able to easily change the color mode to CMYK. Most often it is in the Preferences section.
Color Tip: To ensure the black text in your file prints out dark instead of washed out gray, make the CMYK profile of your text 60 C 40 M 40 Y 100 K
What Do You Mean it Has to Bleed?
Bleed is a term that is used when your art has to print to the edge of the paper. In order to make this happen, we have to print the job on a larger size sheet then trim it down to the finished size. That means your art has to extend beyond the finished piece so we can trim off the excess. Adding .25 inches to the overall size of your project will ensure we can make that happen. For example: If your finished piece is 8.5”x11”, the file you send us should be 8.75’x11.25’ with the part of art going to the edge actually extending out to this new bleed area. Don’t forget to make any essential information like text stays within the finished size. A safe practice is to make sure text never gets within .25’ of the finished edge.
Why Did My Font Change?
The font you used to typeset your project might not be a font we have on our computer. Sometimes this causes the program to use a default font to replace the one missing from our system. There are two easy ways to make sure this doesn’t happen. If you are using Illustrator or a similar program, select your text and choose “Create Outlines”. If you are using Photoshop, flatten the artwork before saving. Just make sure you save the original project under a different name as both of these methods makes it so you cannot edit the text any longer.
PDF is the Way to Go
To help ensure you get a printed piece that looks correct, the file format you send should always be a PDF File. This is a universally accepted format that embeds more information into the file than most other files. Never send a file that needs to printed in the native software format i.e.; Word, Excel, Pagemaker, etc… No matter what program you use, you can save the art as a PDF.
Now that you have the basics of troubleshooting for printing problems before they happen – feel free to give us a call if you have any questions regarding print file preparation. We pride ourselves in producing high quality printing with complete customer satisfaction and would love to give you any advise to make sure that happens!

